How to Setup Apache as Reverse Proxy for Tomcat Server using mod proxy - 2020

Assuming we already have installed Apache Httpd and Apache Tomcat, and running them on a Debian/Ubuntu compatible machine.
Apache server on the same host running on port 80. We'll use Apache server to get users requests and forward these requests to corresponding applications running on back-end Tomcat server on port 8080.
So, we need to configure Apache to transfer requests to tomcat.
Though there are several ways to do this, in this tutorial, we are going to use mod_proxy which is a general propose proxy module. This can be used to forward requests for a particular web application to a Tomcat instance, without having to configure a web connector such as mod_jk.
The main idea is to setup a VirtualHost exclusive for tomcat on a given path of our site.
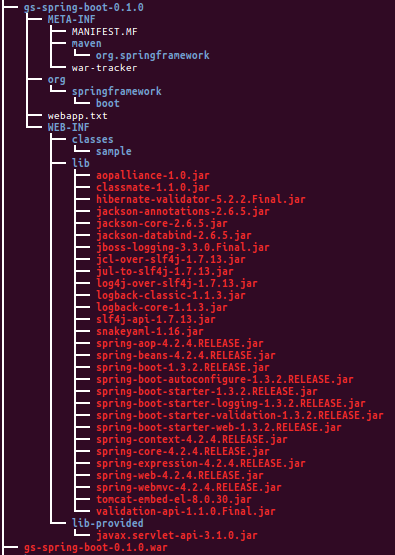
Here is the /var/lib/tomcat8/webapps file structure. Under it we have our Spring Boot app (Spring Boot : Deploying War file to Tomcat 8's webapps) folder, gs-spring-boot-0.1.0:
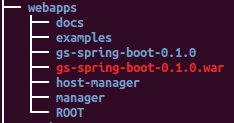
We want to access home page of the app by http://tomcat.example.com:80. But Tomcat server, by default, listens to 8080, and that's why we want to use proxy setup for Apache.
In our local machine we've already setup the domain via /etc/hosts file:
127.0.0.1 tomcat.example.com
You need to enable 2 modules: proxy and proxy_http using a2enmod command:
$ sudo a2enmod proxy

$ sudo a2enmod proxy_http
Here is the Apache VirtualHost configuration, /etc/apache2/sites-available/tomcat.example.com:
<VirtualHost *:80>

        ServerName tomcat.example.com

        <Directory />
                AllowOverride None
        </Directory>
        <Directory /var/lib/tomcat8/webapps/>
                AllowOverride All
                Require all granted
                Options Indexes FollowSymLinks
        </Directory>

        ErrorLog ${APACHE_LOG_DIR}/error.log
        LogLevel warn
        CustomLog ${APACHE_LOG_DIR}/access.log combined

        ProxyPass / http://localhost:8080/gs-spring-boot-0.1.0/
        ProxyPassReverse / http://localhost:8080/gs-spring-boot-0.1.0/
        <Location "/webapps">
            Order deny,allow
            Allow from all
        </Location>
</VirtualHost>
The key lines are ProxyPass*:
ProxyPass / http://localhost:8080/gs-spring-boot-0.1.0/
ProxyPassReverse / http://localhost:8080/gs-spring-boot-0.1.0/
At the '/' request, the traffics are forwarded to http://localhost:8080//gs-spring-boot-0.1.0/ via port 8080 which Tomcat is listening to. Note also it goes to gs-spring-boot-0.1.0 which is the our app name (app.war).
Then, we need to make a link for sites-enables:
$ sudo a2ensite tomcat.example.com
After enabling the site, we can check if it's really setup:
$ ls -la ../sites-enabled/
lrwxrwxrwx 1 root root   38 Feb 25 11:18 tomcat.example.conf -> ../sites-available/tomcat.example.conf
To disable it:
$ sudo a2dissite tomcat.example.com
Let's restart the server:
$ sudo service apache2 restart
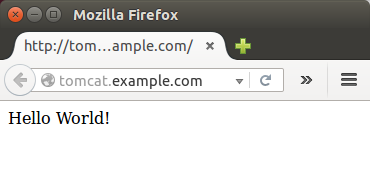
As we can see from the picture below, we're now able to access via our domain name (tomcat.example.com) with port 80:
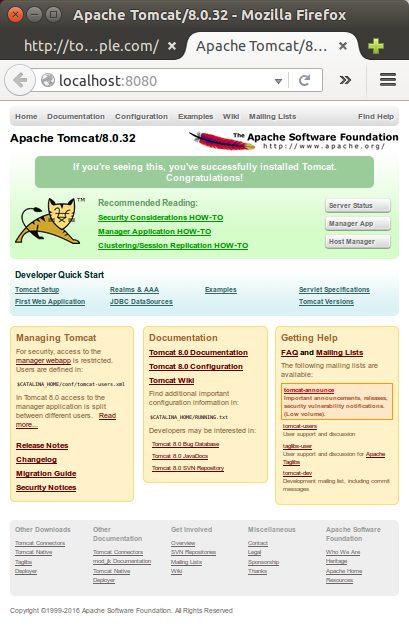
To access Tomcat home, we can still use localhost:8080:
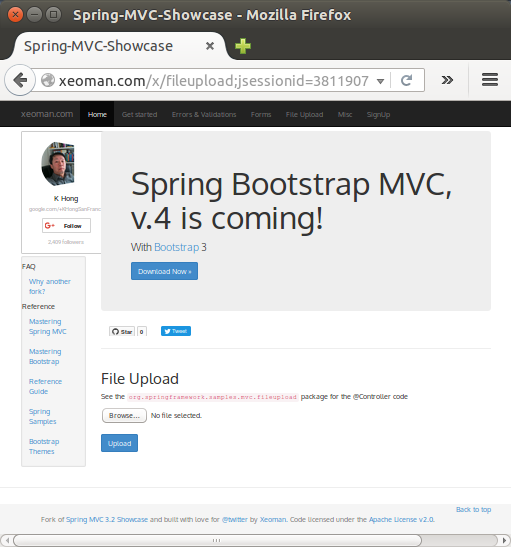
It looked like the Proxy setup was complete but later I found there was an issue of keeping the session id. It appears whenever we proxied, a new session is created, so page navigation starts to break.
After a couple of tries, I came up with a solution though not perfect. The url has to have domain/x, and here is my configuration for the proxy on Apache:
<VirtualHost *:80>
        ServerName xeoman.com

        <Directory />
                AllowOverride None
        </Directory>
        <Directory /var/lib/tomcat8/webapps/>
                AllowOverride All
                Require all granted
                Options Indexes FollowSymLinks
        </Directory>

        ErrorLog /var/www/xeoman.com/logs/error.log
        CustomLog /var/www/xeoman.com/logs/access.log combined


        RedirectMatch ^/$ /x
        ProxyPass /x http://localhost:8080/x
        ProxyPassReverse /x http://localhost:8080/x

        <Location "/webapps">
            Order deny,allow
            Allow from all
        </Location>
</VirtualHost>
The redirect from '/' to '/x' is a side-effect of my solution. Otherwise, it goes to tomcat manager page but not to my root page.
Here is my site deployed on my VPS:
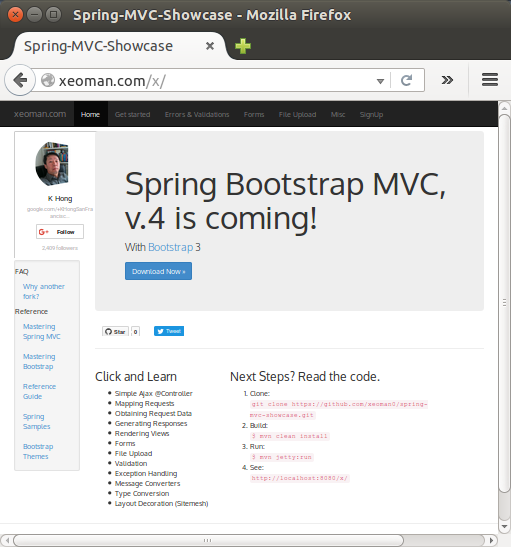
Please let me know if you know how to remove the x in the url.
The source is available from spring-mvc-showcase.
Ph.D. / Golden Gate Ave, San Francisco / Seoul National Univ / Carnegie Mellon / UC Berkeley / DevOps / Deep Learning / Visualization