Tornado blog app

Tornado is a Python web framework and asynchronous networking library, originally developed at FriendFeed.
By using non-blocking network I/O, Tornado can scale to tens of thousands of open connections, making it ideal for long polling, WebSockets, and other applications that require a long-lived connection to each user.
Clone the repo : tornado:
$ git clone https://github.com/tornadoweb/tornado.git
We're going to use "demo/blog", so let's go into the directory:
$ cd tornado/demos/blog
Install Tornado:
$ sudp pip install tornado
Actually, we can just install all necessary packages on virtualenv like this:
(venv)$ pip install -r requirements.txt
Tornado supplies its own HTTPServer.
Here is a simple "Hello, world" example web app for Tornado:
# hello.py
import tornado.ioloop
import tornado.web

class MainHandler(tornado.web.RequestHandler):
    def get(self):
        self.write("Hello, world")

def make_app():
    return tornado.web.Application([
        (r"/", MainHandler),
    ])

if __name__ == "__main__":
    app = make_app()
    app.listen(8888)
    tornado.ioloop.IOLoop.current().start()
Run it:
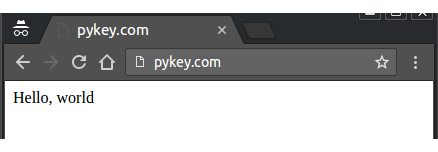
$ python hello.py
Then, on the browser:

A proxy server relays a client's request to the appropriate server. Some network installations use proxy servers to filter and cache HTTP requests that machines on the local network make to the Internet.
Since we will be running a number of Tornado instances on a range of TCP ports, we will use a proxy server in reverse. In other words, clients across the Internet will connect to a reverse proxy server which forward requests to a pool of Tornado servers behind the proxy. The proxy server is designed to be transparent to the client and yet pass valuable information like the original client's IP address and TCP scheme to the upstream Tornado node.
Here is the Apache proxy configuration:
<VirtualHost *:80>
     ServerName www.pykey.com
     ServerAlias pykey.com

     ProxyPreserveHost On

     ProxyPass / http://127.0.0.1:8888/
     ProxyPassReverse / http://127.0.0.1:8888/

     ErrorLog /var/www/pykey.com/logs/error.log
     CustomLog /var/www/pykey.com/logs/access.log combined
     LogLevel warn
     ServerSignature Off
</VirtualHost>

PM2 is a process manager which makes managing a number of long-running programs a trivial task by providing a consistent interface through which they can be monitored and controlled. So, we can run the "hello.py" like this:
$ pm2 start hello.py
At this point, make sure we've already installed the packages MySQL-python, torndb, and markdown using pip. Otherwise, do the following:
$ pip install MySQL-python
$ pip install torndb
$ pip install markdown
Next, connect to MySQL and create a database (tornadoBlog) and user (tornadoUser) for our blog:
$ mysql -u root -p

mysql> CREATE DATABASE tornadoBlog;
mysql> CREATE USER 'tornadoUser'@'localhost' IDENTIFIED BY 'password';
mysql> GRANT ALL PRIVILEGES ON * . * TO 'tornadoUser'@'localhost';
mysql> FLUSH PRIVILEGES;
Let's create tables in the "tornadoBlog" database:
$ mysql -u tornadoUser -p tornadoBlog < schema.sql
Check the db:
mysql> use tornadoBlog;

mysql> show tables;
+-----------------------+
| Tables_in_tornadoBlog |
+-----------------------+
| authors               |
| entries               |
+-----------------------+
Let's see what's in the directory (tornado/demos/blog):
$ blog.py docker-compose.yml Dockerfile README requirements.txt schema.sql static templates
$ pm2 start blog.py
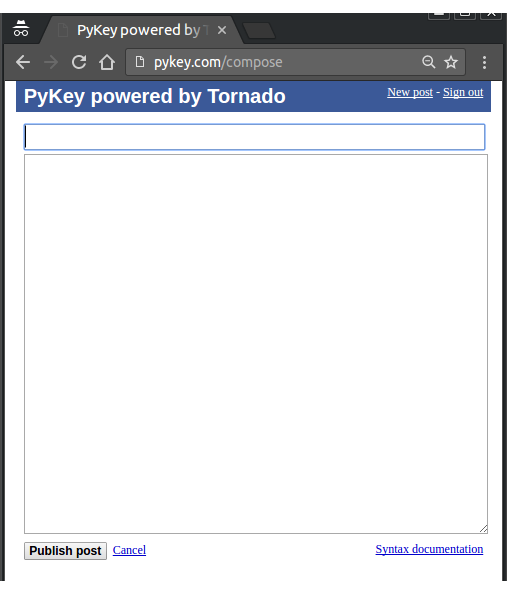
As a sample for the site (pykey.com), here is a new post page after login:

Ph.D. / Golden Gate Ave, San Francisco / Seoul National Univ / Carnegie Mellon / UC Berkeley / DevOps / Deep Learning / Visualization