Apache Hadoop (CDH 5) Install
This tutorial will show how to install and configure version 5 of Cloudera's Distribution Including Apache Hadoop (CDH 5), and how to deploy it on EC2 cluster.
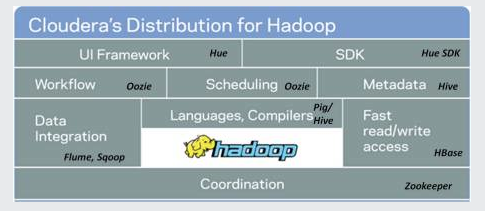
We will create 4 EC2 instances, one for Name node and three for Data nodes using Cloudera Manager 5. Note that after our Hadoop ecosystem is configured, we can always reconfigure it to meet our needs at any time by adding or removing service.
For performance, we may need to use at least r3-type. The installed packages require some space, so we may want to use root size (>30GB) and additional volume (>60GB), and the RAM size (>4GB).
The default installation in CDH 5 is MapReduce 2.x (MRv2) built on the YARN framework. In this document we usually refer to this new version as YARN. CDH 5 also provides an implementation of the previous version of MapReduce, now referred to as MRv1.
- YARN or
- MRv1 or
- both implementations.
Note: MRv1 and YARN share a common set of configuration files, so it is safe to configure both of them so long as we run only one set of daemons at any one time. Cloudera does not support running MRv1 and YARN daemons on the same nodes at the same time; it will degrade performance and may result in an unstable cluster deployment.
Reference: CDH 5 and MapReduce
MapReduce has undergone a complete overhaul and CDH 5 now includes MapReduce 2 (MRv2). The fundamental idea of MRv2's YARN architecture is to split up the two primary responsibilities of the JobTracker (resource management and job scheduling/monitoring) into separate daemons. With MRv2, the ResourceManager (RM) and per-node NodeManagers (NM), form the data-computation framework.
![]()
- a global ResourceManager (RM) - replaces the functions of the JobTracker, and NodeManagers run on slave nodes instead of TaskTracker daemons.
- per-application ApplicationMasters (AM) - a framework specific library and is tasked with negotiating resources from the ResourceManager and working with the NodeManager(s) to execute and monitor the tasks.
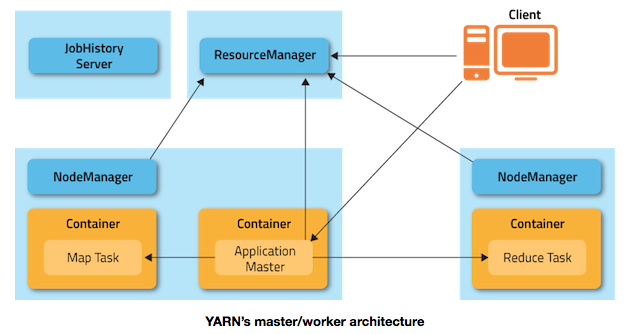
Picture source: How Apache Hadoop YARN HA Works
After we installed CDH, we can run the following command on a hadoop node to check the hadoop version we installed:
$ hadoop version
Hadoop 2.3.0-cdh5.0.0
Subversion git://github.sf.cloudera.com/CDH/cdh.git -r 8e266e052e423af592871e2dfe09d54c03f6a0e8
Compiled by jenkins on 2014-03-28T04:31Z
Compiled with protoc 2.5.0
...
This command was run using /vol/cloudera/parcels/CDH-5.0.0-1.cdh5.0.0.p0.47/lib/hadoop/hadoop-common-2.3.0-cdh5.0.0.jar
Cloudera Manager automates the installation and configuration of CDH 5 on an entire cluster if we have root or password-less sudo SSH access to our cluster's machines.
Cloudera Manager automates the installation of the Oracle JDK, Cloudera Manager Server, embedded PostgreSQL database, and Cloudera Manager Agent, CDH, and managed service software on cluster hosts, and configures databases for the Cloudera Manager Server and Hive Metastore and optionally for Cloudera Management Service roles. This method is recommended for demonstration and proof of concept deployments, but is not recommended for production deployments because its not intended to scale and may require database migration as our cluster grows. To use this method, server and cluster hosts must satisfy the following requirements:
- Provide the ability to log in to the Cloudera Manager Server host using a root account or an account that has password-less sudo permission.
- Allow the Cloudera Manager Server host to have uniform SSH access on the same port to all hosts.
- All hosts must have access to standard package repositories and either archive.cloudera.com or a local repository with the necessary installation files.
Reference : Cloudera Manager Deployment
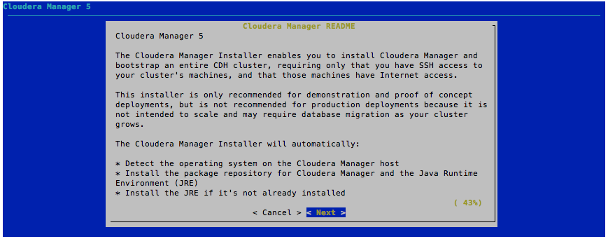
Download the Cloudera Manager installer binary from Cloudera Manager 5.3.0 Downloads to the cluster host where we want to install the Cloudera Manager Server. The Cloudera Manager Installer will automatically:
- Detect the operating system on the Cloudera Manager host
- Install the package repository for Cloudera Manager and the Java Runtime Environment (JRE)
- Install the JRE if it's not already installed
We will do the following:
- Download the Cloudera Manager installer binary:
$ wget http://archive.cloudera.com/cm5/installer/latest/cloudera-manager-installer.bin
--2015-01-12 19:07:59--  http://archive.cloudera.com/cm5/installer/latest/cloudera-manager-installer.bin
Resolving archive.cloudera.com (archive.cloudera.com)... 54.230.141.154, 54.230.143.143, 54.230.143.234, ...
Connecting to archive.cloudera.com (archive.cloudera.com)|54.230.141.154|:80... connected.
HTTP request sent, awaiting response... 200 OK
Length: 514295 (502K) [application/octet-stream]
Saving to: `cloudera-manager-installer.bin'

100%[=================================================================================>] 514,295     --.-K/s   in 0.03s

2015-01-12 19:07:59 (19.0 MB/s) - `cloudera-manager-installer.bin' saved [514295/514295]
- Change cloudera-manager-installer.bin to have executable permission.
$ chmod u+x cloudera-manager-installer.bin
- Run the Cloudera Manager Server installer:
$ sudo ./cloudera-manager-installer.bin
If we want to uninstall, we do:
$ sudo /usr/share/cmf/uninstall-cloudera-manager.sh
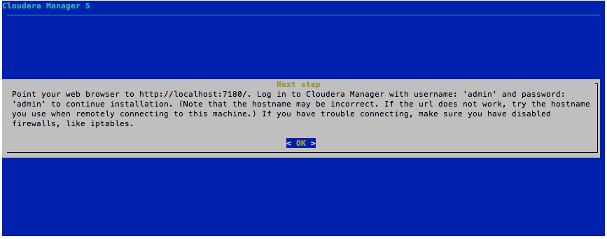
The Cloudera Manager Server URL takes the following form http://Server host:port, where Server host is the fully-qualified domain name or IP address of the host where the Cloudera Manager Server is installed and port is the port configured for the Cloudera Manager Server. The default port is 7180. Wait several minutes for the Cloudera Manager Server to complete its startup.
To observe the startup process, we can perform
$ sudo tail -f /var/log/cloudera-scm-server/cloudera-scm-server.log
on the Cloudera Manager Server host.
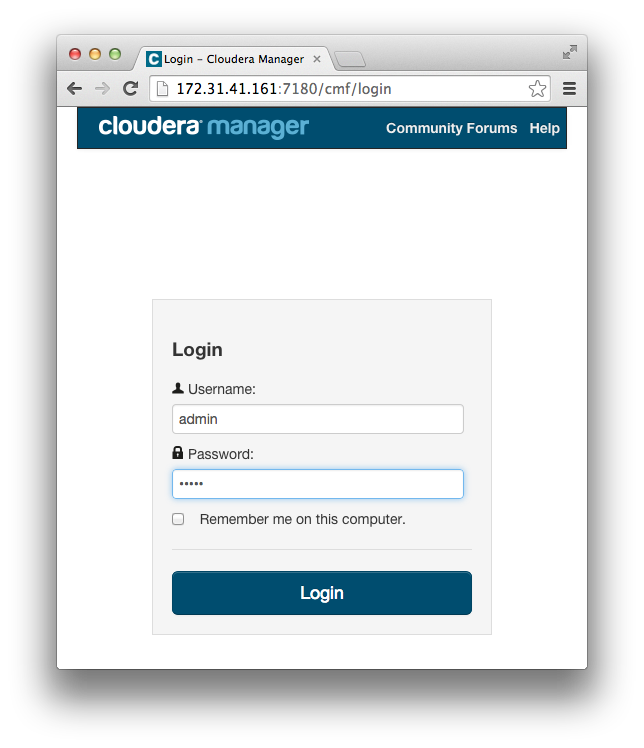
In a web browser, enter http://Server host:7180, where Server host is the fully-qualified domain name or IP address of the host where the Cloudera Manager Server is running. The login screen for Cloudera Manager Admin Console displays. Log into Cloudera Manager Admin Console. The default credentials are: Username: admin Password: admin. Cloudera Manager does not support changing the admin username for the installed account. We can change the password using Cloudera Manager after we run the installation wizard. While we cannot change the admin username, we can add a new user, assign administrative privileges to the new user, and then delete the default admin account.
Open up browser, and type in ip address of the Cloudera Manager and port number (7180). In our case, if we navigate to 172.31.41.161:7180, then the page like this will show up:
The following instructions describe how to use the Cloudera Manager installation wizard to do an initial installation and configuration. The wizard lets us:
- Skip "Enable Single User Mode"
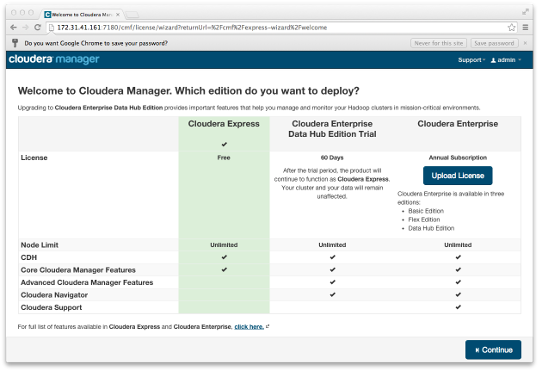
- Select the version of Cloudera Manager to install
-
This installer will install Cloudera Express 5.3.0 and enable us to later choose packages for the services below (there may be some license implications).
- Apache Hadoop (Common, HDFS, MapReduce, YARN)
- Apache HBase
- Apache ZooKeeper
- Apache Oozie
- Apache Hive
- Hue (Apache licensed)
- Apache Flume
- Cloudera Impala (Apache licensed)
- Apache Sentry
- Apache Sqoop
- Cloudera Search (Apache licensed)
- Apache Spark
- Find the cluster hosts we specify via hostname and IP address ranges.
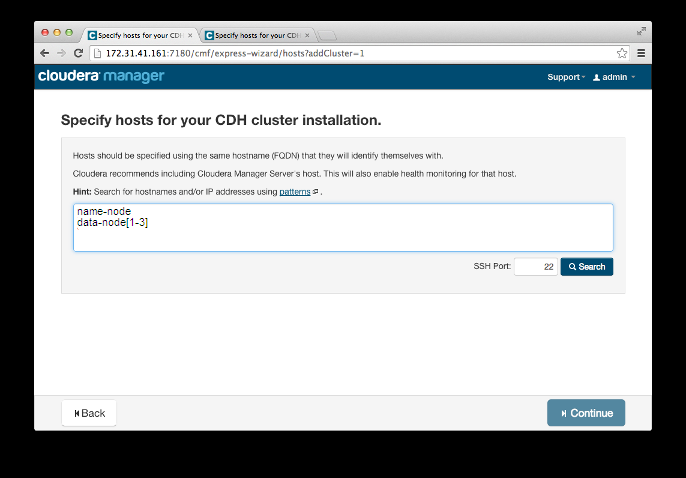
Click "Continue".
Now we have node names including NameNode. But they do not know each other. So, we need to fill the IPs of them by hitting "Search":
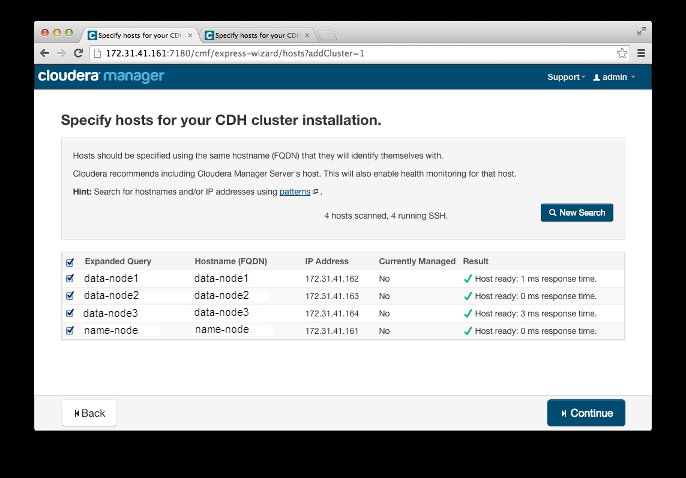
Usually, we link them together via /etc/hosts.
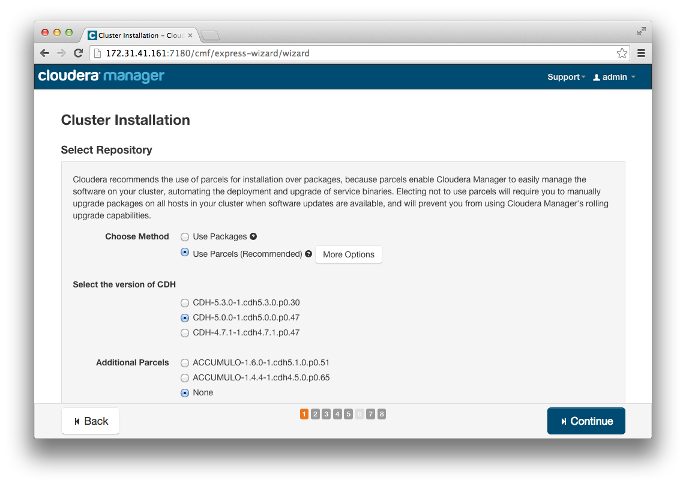
We can use another version of CDH by selecting "More Options" under "Choose Method" by changing
http://archive.cloudera.com/cdh5/parcels/{latest_supported}/
To
http://archive.cloudera.com/cdh5/parcels/5.0.0/
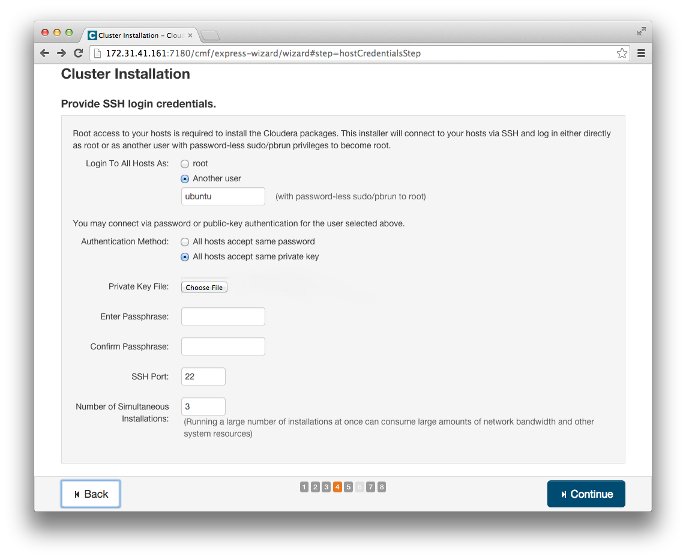
Since we're using EC2, the user is "ubuntu", and the key should be the key we got from AWS (Click Choose File button to insert *.pem) :
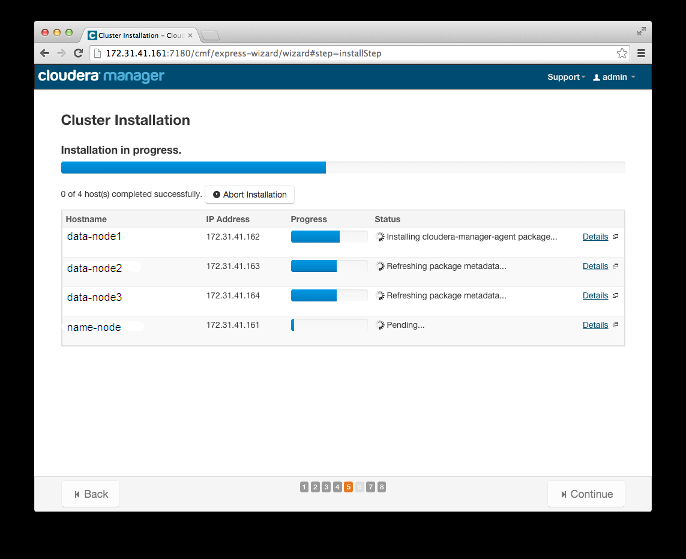
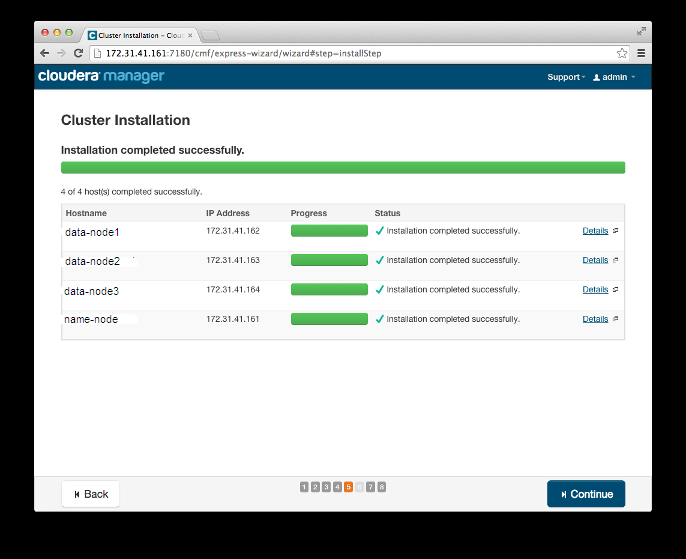
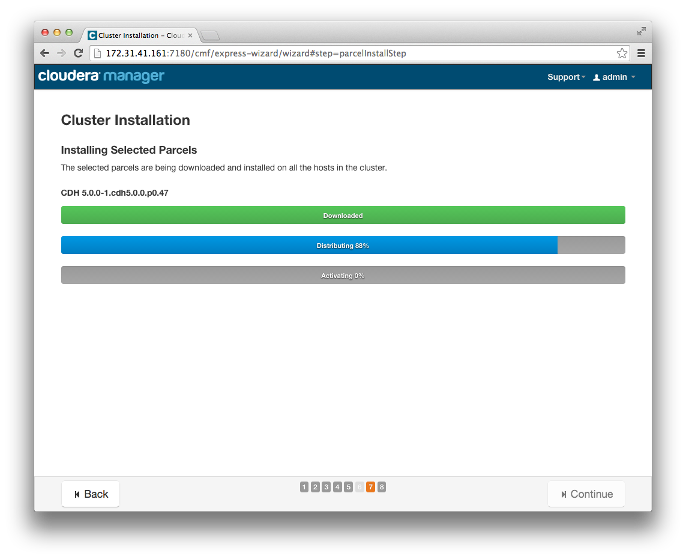
While packages are being installed, the status of installation on each host is displayed. If this step shows very little progress, we can restart the whole install process, and reduce the "Number of Simultaneous Installations."
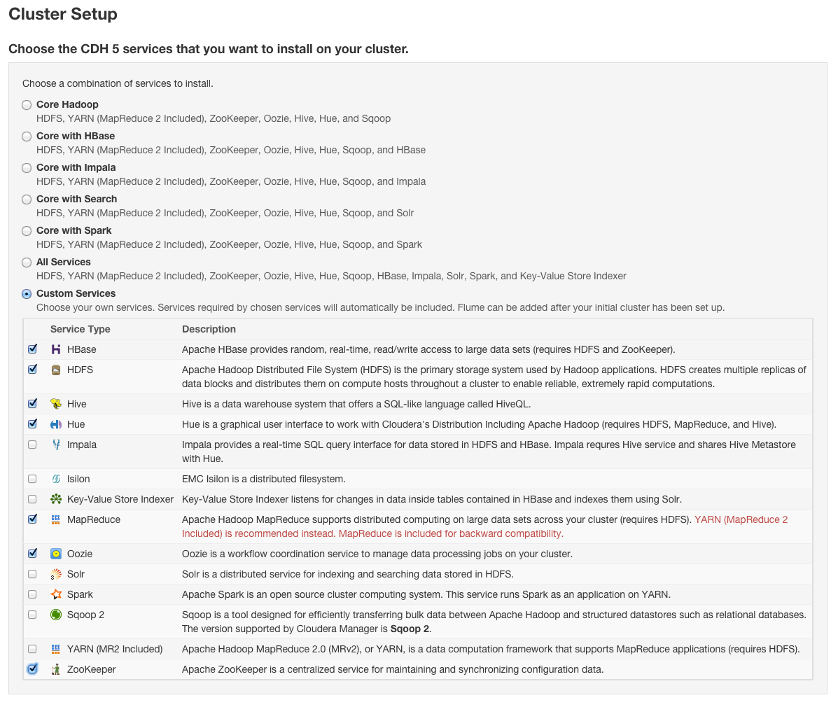
In the first page of the Add Services wizard we choose the combination of services to install and whether to install Cloudera Navigator:
Click the radio button next to the combination of services to install:
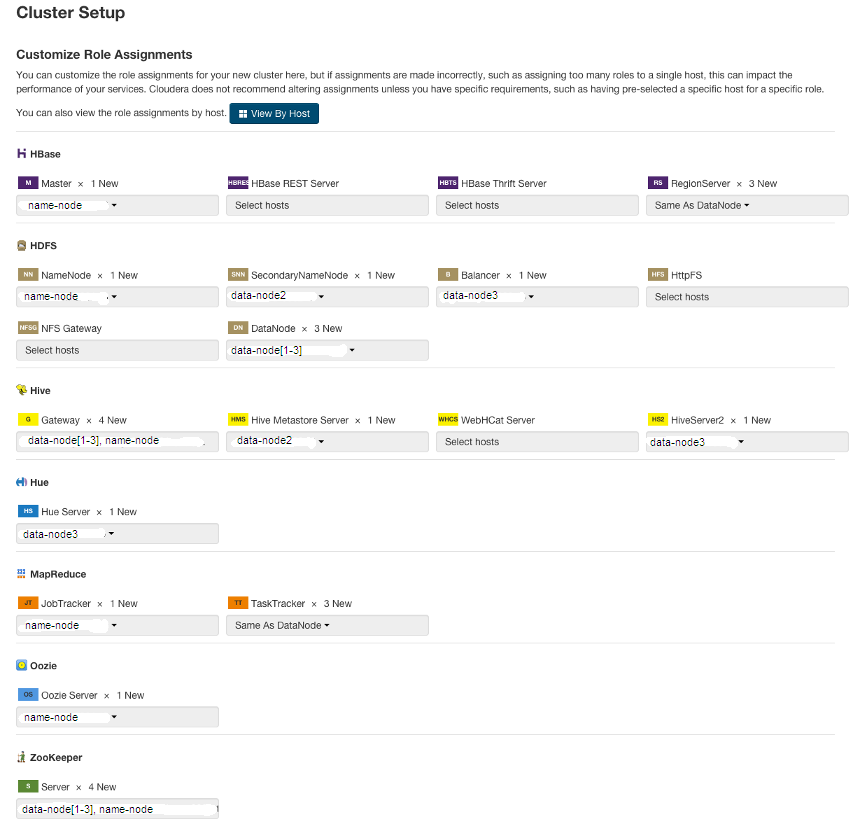
Customize the assignment of role instances to hosts. The wizard evaluates the hardware configurations of the hosts to determine the best hosts for each role. The wizard assigns all worker roles to the same set of hosts to which the HDFS DataNode role is assigned. These assignments are typically acceptable, but we can reassign them if necessary.
Here are the actual role assignment:
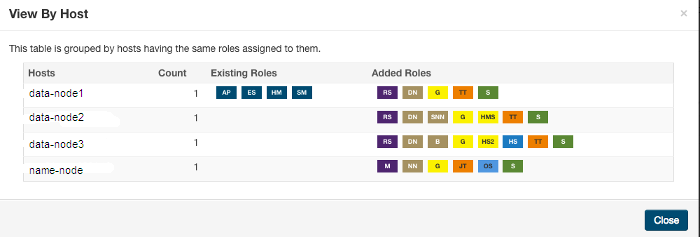
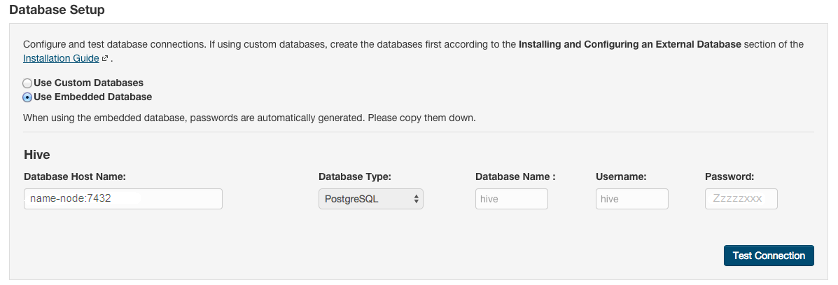
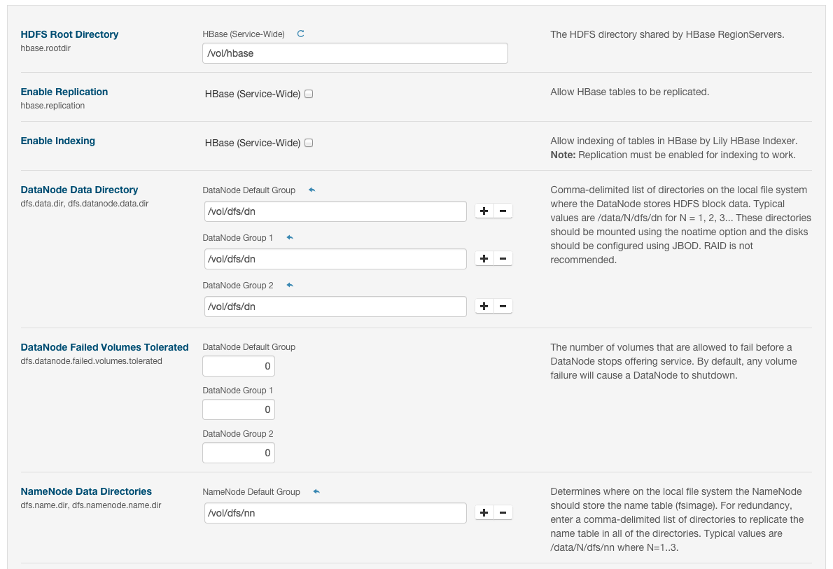
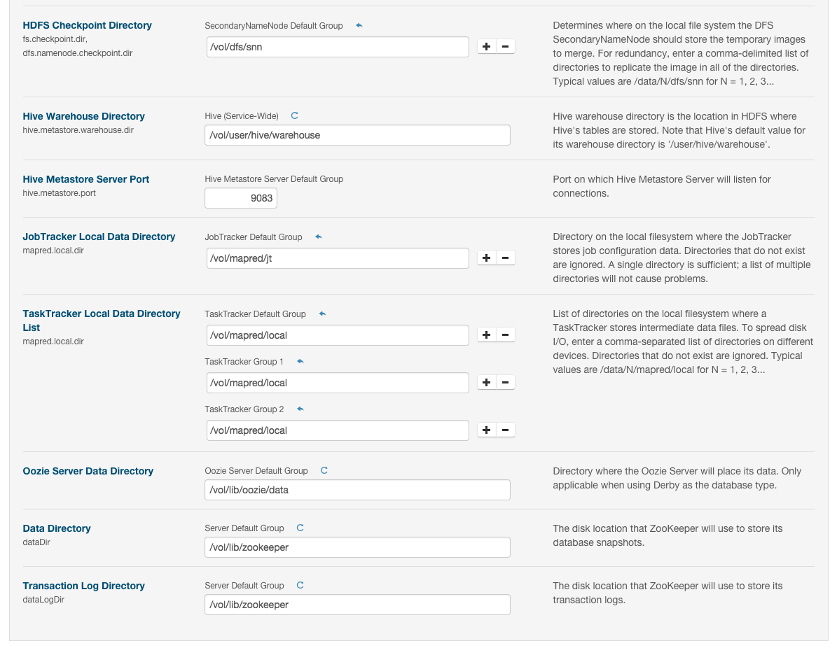
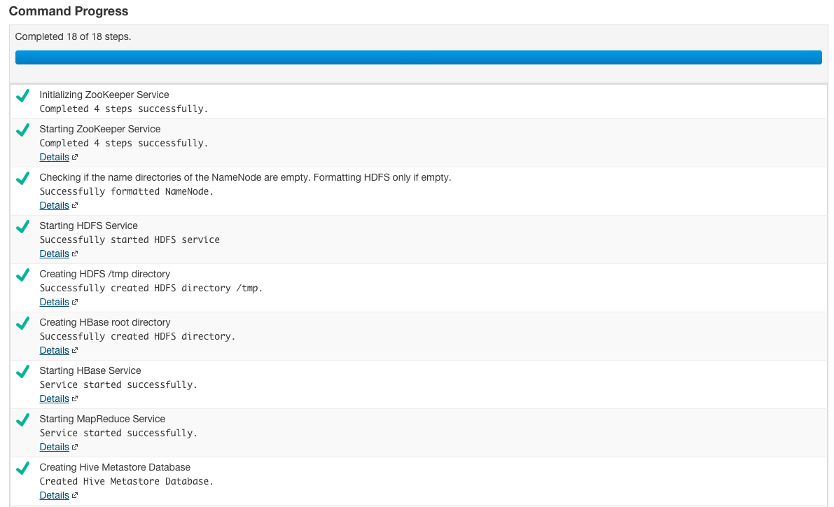
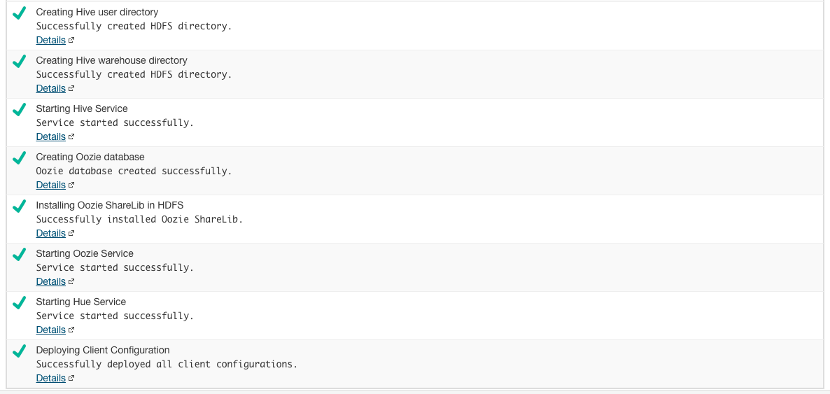

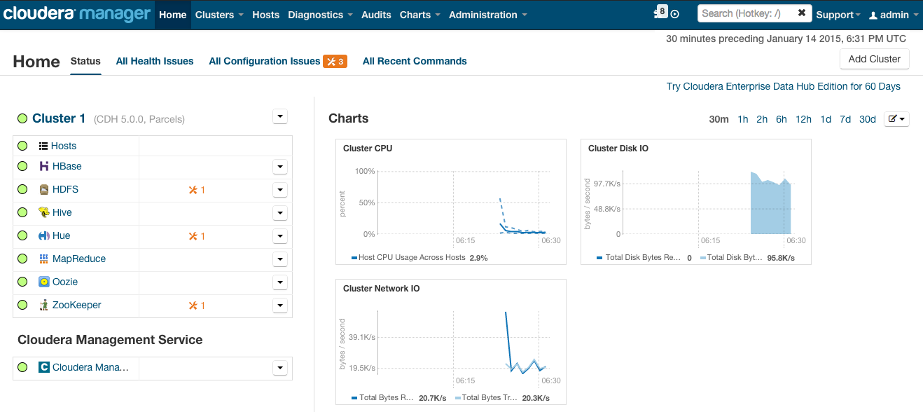
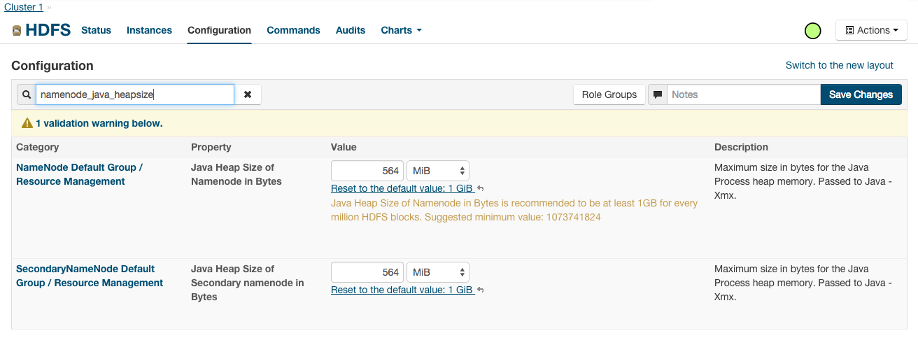
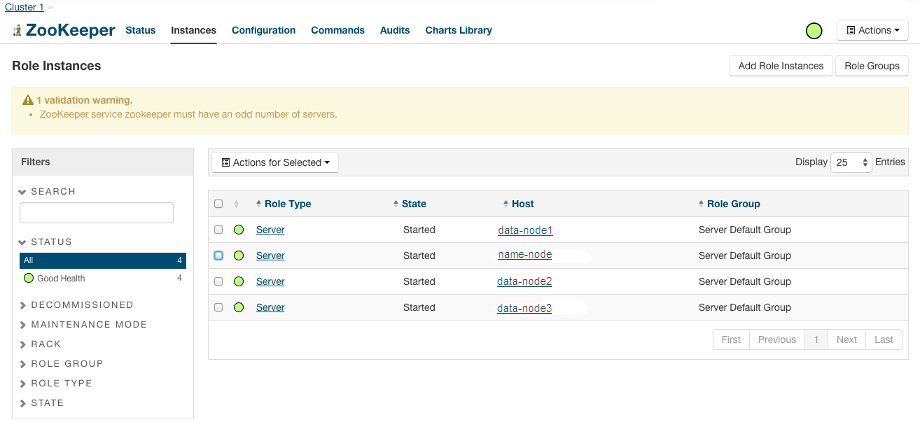
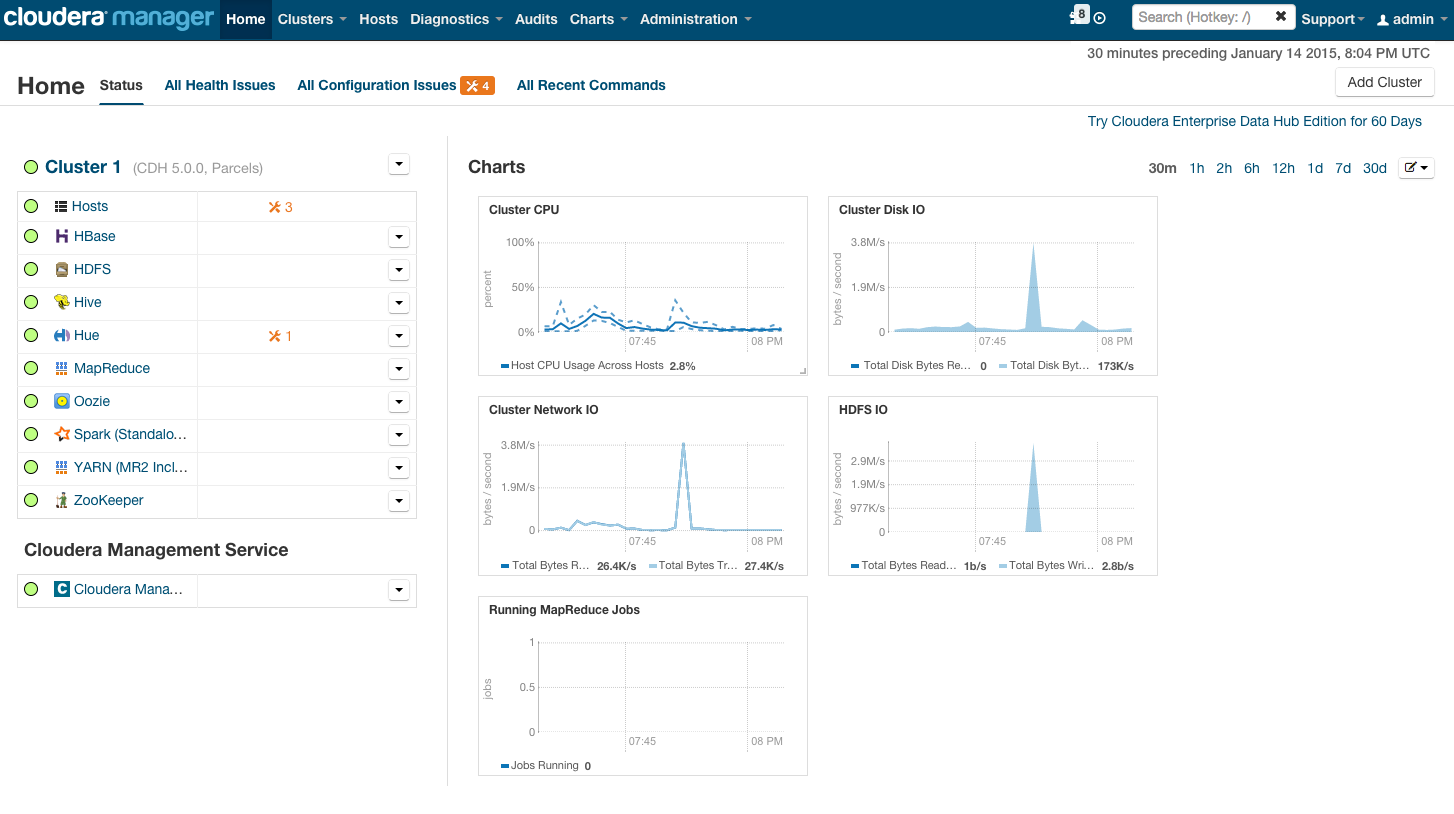
We can re-configure the CDH5. Here is the CDH Home after adding Yarn and Spark services.
Ph.D. / Golden Gate Ave, San Francisco / Seoul National Univ / Carnegie Mellon / UC Berkeley / DevOps / Deep Learning / Visualization