1. Django 1.8 Server Build - CentOS 7 hosted on VPS

This tutorial borrowed heavily from Django 1.7 Server Build - CentOS 7 hosted on VPS series. In general, the basic materials are still working fine. I used 'car'/'driver' instead of 'beer'/'drinker', and here and there, I had to modify or fill in stubs which were dropped in the videos. Other than the Django version 1.8, the rest of the environments were kept the same : Linode VPS / CentOS 7.
$ python
Python 2.7.5 (default, Jun 24 2015, 00:41:19)
[GCC 4.8.3 20140911 (Red Hat 4.8.3-9)] on linux2
Type "help", "copyright", "credits" or "license" for more information.
>>> import django

>>> django.VERSION
(1, 8, 2, 'final', 0)
$ cat /etc/*release
CentOS Linux release 7.1.1503 (Core)
NAME="CentOS Linux"
VERSION="7 (Core)"
ID="centos"
ID_LIKE="rhel fedora"
VERSION_ID="7"
PRETTY_NAME="CentOS Linux 7 (Core)"
ANSI_COLOR="0;31"
CPE_NAME="cpe:/o:centos:centos:7"
HOME_URL="https://www.centos.org/"
BUG_REPORT_URL="https://bugs.centos.org/"

CENTOS_MANTISBT_PROJECT="CentOS-7"
CENTOS_MANTISBT_PROJECT_VERSION="7"
REDHAT_SUPPORT_PRODUCT="centos"
REDHAT_SUPPORT_PRODUCT_VERSION="7"

CentOS Linux release 7.1.1503 (Core)
CentOS Linux release 7.1.1503 (Core)
I have more tutorials than the original because I wanted each tutorial to be as short as possible.
In this and subsequent chapters, we'll make a Apache web server and set Django as a backend framework on CentOS 7 hosted on Linode.
One of the major factors choosing CentOS is the web hosting control panel compatibility. Within the web hosting industry, CentOS dominates, and most web hosting control panels, including cPanel, focus on RHEL derivatives like CentOS. So, I prefer CentOS to Ubuntu, but Ubuntu Server might be an excellent choice and can do everything that CentOS can. However, CentOS is the preferred distribution in the hosting industry, so if we want our server to be compatible with the majority of the industry, it's the safe choice.
In this chapter:
- We'll install CentOS 7 and boot up the machine.
- Then, we'll setup DNS for newly purchased domain name.
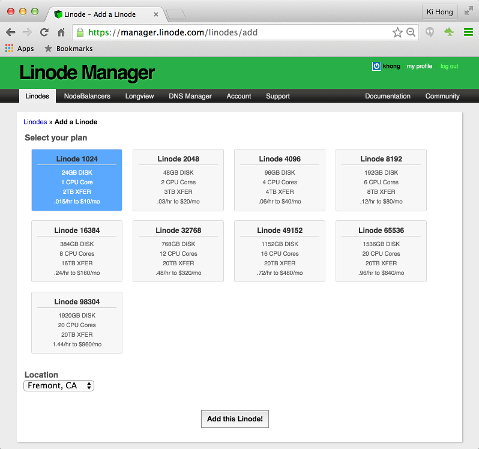
Click "Add this Linode!":
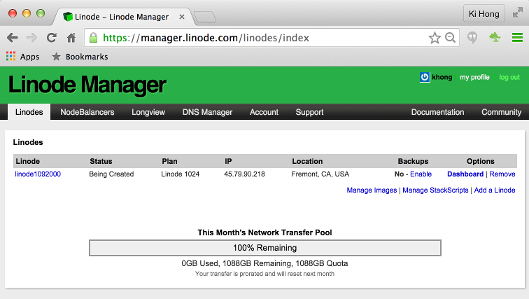
Click "Dashboard":
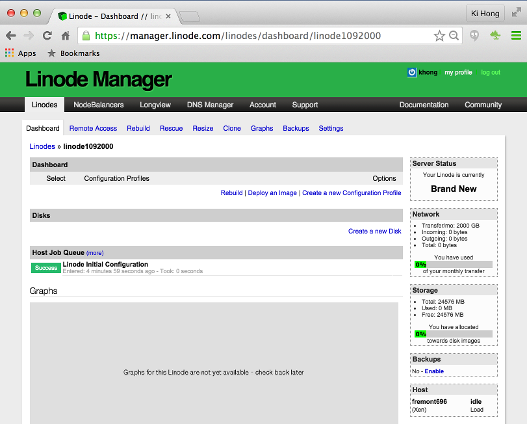
Next, select "Deploy an Image":
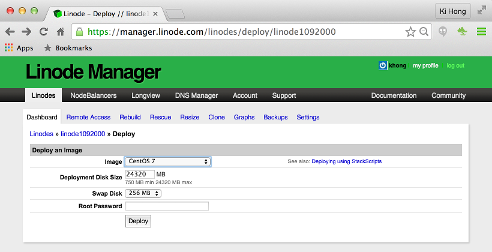
a
Hit "Deploy":
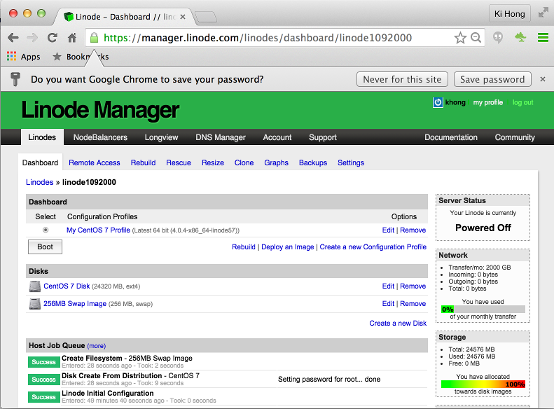
Click "Boot" to boot the server:

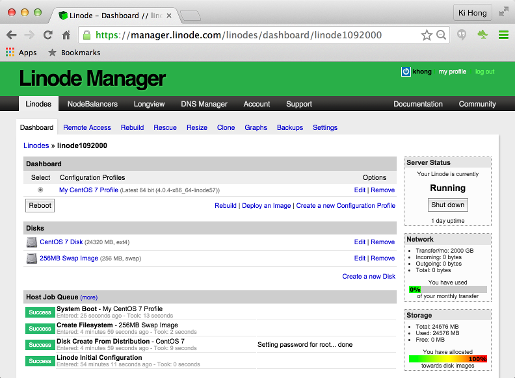
Now we did boot the server with a CentOS 7 image, and the server is running:
Select "Remote Access" from the top menu:
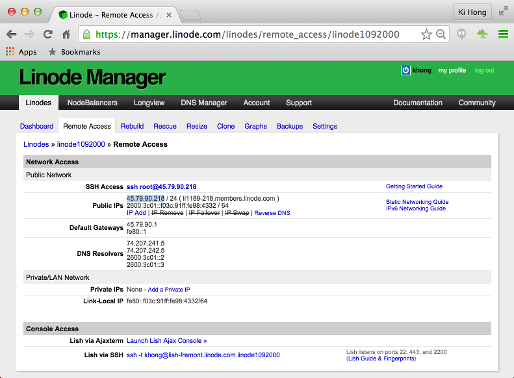
We'll comeback to this later to setup ssh.
See Setting Domain Names to Use Linode's Name Servers.
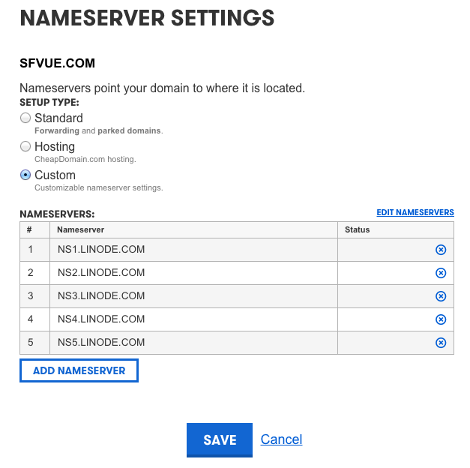
After we purchase a domain, the next step is setting our domain registrar to use our name servers. Use our domain name registrar's interface to set the name servers for our domain name to the following entries:
ns1.linode.com
ns2.linode.com
ns3.linode.com
ns4.linode.com
ns5.linode.com
Before we can add any DNS records, we must create a domain zone â a container for DNS records associated with a single domain name. The Linode Manager allows us to add new domain zones, import domain zones from other DNS servers, clone existing zones that we've already created in the DNS Manager, check to make sure that a zone is correctly loaded, view the raw output of a zone file, and permanently remove a zone and all associated DNS records.
If we have just purchased a new domain name, the first step is to add a new domain zone in the DNS Manager. This creates a container for the DNS records for our domain name. If we don't know what DNS records to add, the DNS Manager can insert some basic records when we create the new domain zone.
From the DNS Manager tab, select the Add a domain zone link.
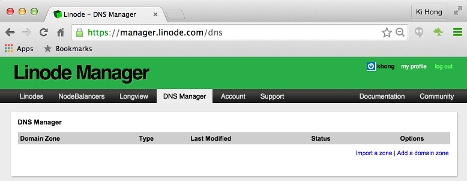
Enter the domain name in the Domain field, and also enter an administer's email address in the SOA Email field.
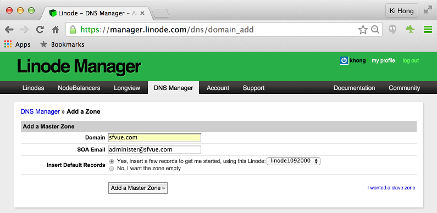
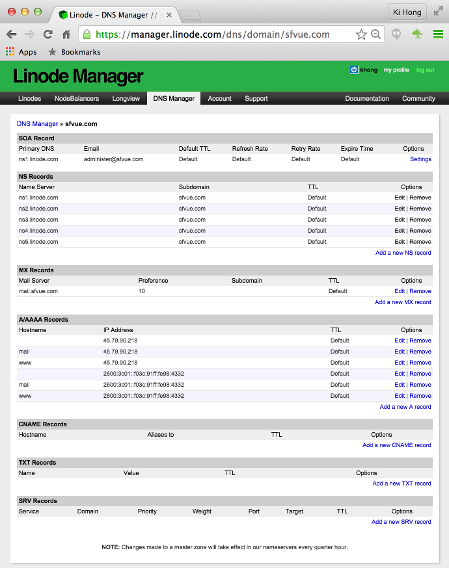
Click Add a Master Zone. Then, the following page appears, with our domain zone information:
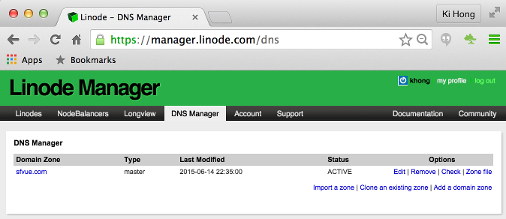
Under normal circumstances, there's no reason to suspect a problem with our domain zone or DNS records, but sometimes things go wrong. We can use the Check zone feature to verify that our domain zone is working correctly.
In order to check the status of our domain zone, from within the DNS Manager, click the Check option to the far right of our chosen domain zone.
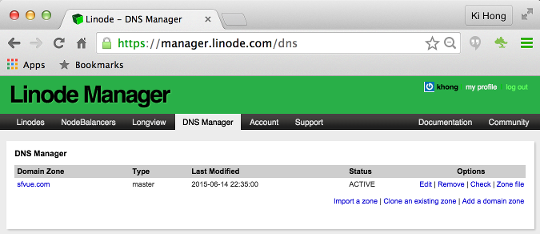
A webpage with the results of the domain zone check will then appear.
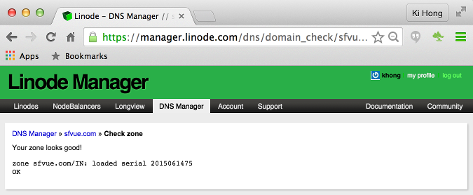
If we see a message stating that our zone looks good, everything is working correctly; otherwise, check if all of the DNS records in our domain zone are properly configured.
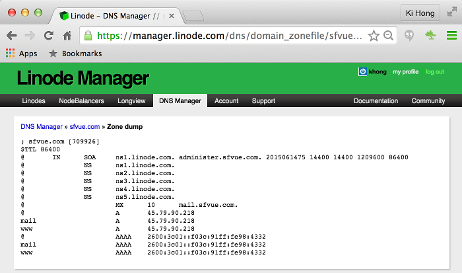
The DNS Manager allows us to view the contents of a domain zone file. This is especially useful should we need to import the zone to a different server, or if we wish to inspect the file.
We can view the contents of the domain zone file through the DNS Manager tab of our Linode Manager. From there, select the Zone file link to the far right column of our chosen domain's name.
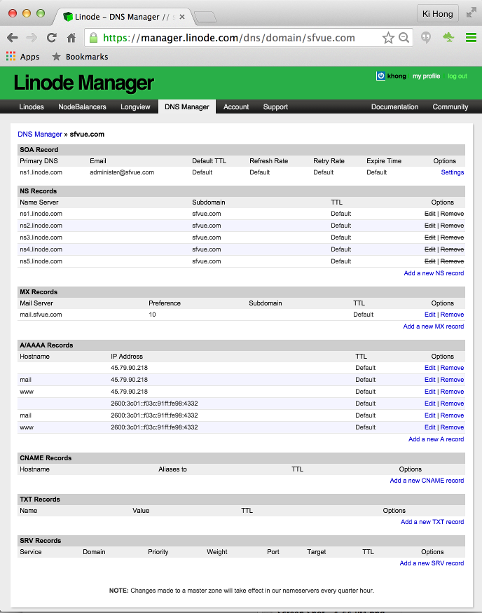
Once we've created a domain zone, we can start filling it with DNS records. DNS records are the link between our domain and our virtual private server. We'll see how to add, edit, and remove DNS records.
Should we remove our Linode(s), we will no longer be able to use Linode's DNS Manager to host our domain zones.
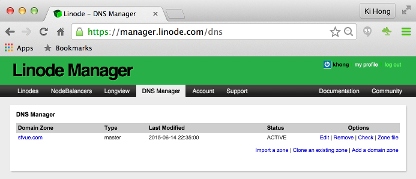
- Select a domain zone from within DNS Manager:
- The page is divided into different sections for each type of DNS record. Locate the section for the type of DNS record we want to add, and then click the Add new [DNS] record link. But in our case, it looks it's been done already, and we do not have to do anything here.
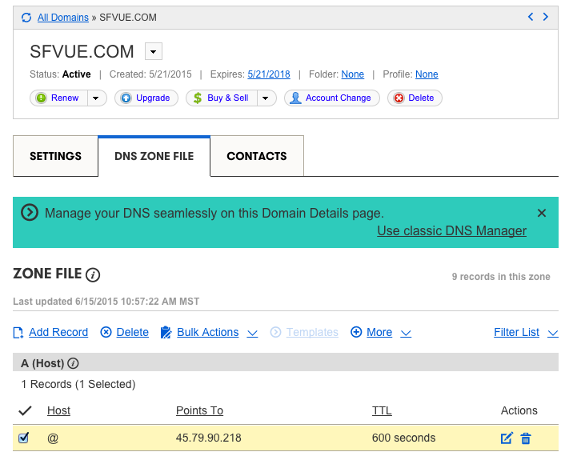
Since my domain sfvue.com is registered via other than Linode, we need to setup two things as shown below.
1. ip - pointing to Linode:
2. name servers - renamed to Linode's:
If we've just made a DNS change and aren't seeing it reflected yet, try waiting 48 hours. DNS updates will take effect, or propagate, within the time period set by our zone file's TTL. In some cases the new information may not be reflected for up to 48 hours.
While we can't control DNS caching at every point on the internet, we do have control over our web browser. Try holding down the Shift key or the Control key (depending on browser) while we refresh the page to bypass our browser's cache of the old DNS data. We can also try bringing up our site in an alternate browser, or Previewing Our Website Without DNS.
Continued to 2. Django 1.8 Server Build - CentOS 7 hosted on Linode : ssh login and firewall
Ph.D. / Golden Gate Ave, San Francisco / Seoul National Univ / Carnegie Mellon / UC Berkeley / DevOps / Deep Learning / Visualization